
 ΕΛ
ΕΛProduct Information
CONFIGURATION
To start issuing receipts through the application, you will need to complete its initial configuration by entering the items (products or services) you provide to your customers and for which you will charge them. Configuration is required to be done only before the first use of the application, but there is the possibility to change it whenever you wish (e.g. for adding or removing items). The steps that follow are used both for the initial, and for any subsequent configuration of the application.
To proceed with the configuration of the application you must open the Options Menu.
INITIAL ITEM ENTRY #
From the Options Menu we select Cash Register and we are transferred to the screen for entering the customer details and the items. At the stage of configuring the application we do not need to fill in the fields for the customer details, since we will not proceed to issue a receipt. We will proceed directly to Edit Items.
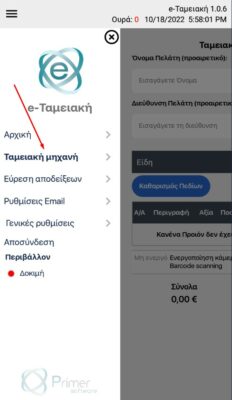
MOBILE SCREEN
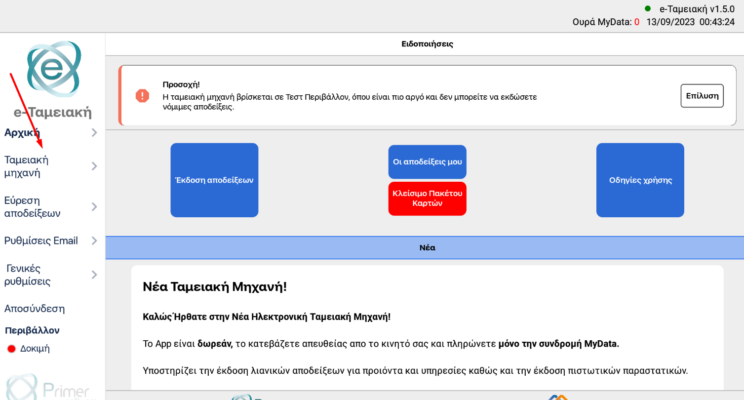
TABLET SCREEN
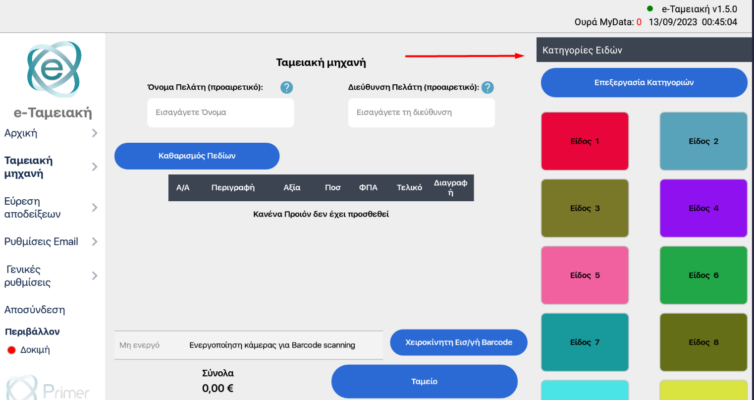
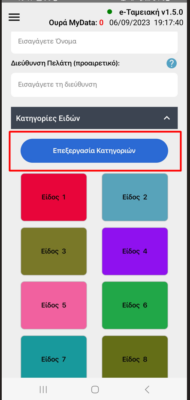
By clicking the Item Categories button, the list of saved items will appear (the list will be empty at the stage of the first configuration of the application, while it will display the saved items in every subsequent edit).
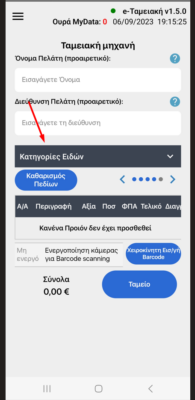
MOBILE SCREEN
TABLET SCREEN
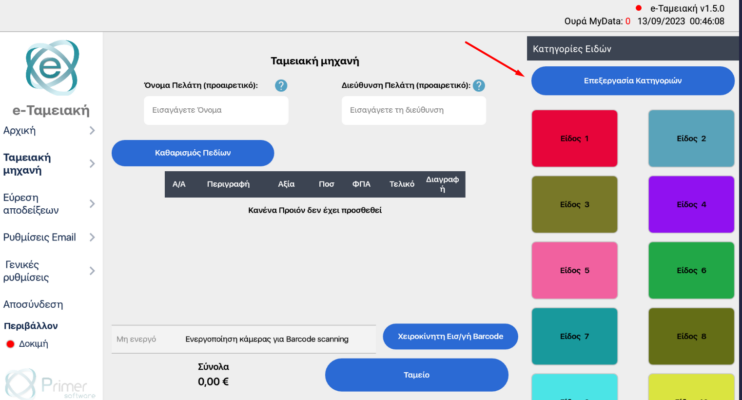
By clicking the Edit Categories button we are given the ability to edit any item we want, as long as we select it
MOBILE SCREEN
TABLET SCREEN
ENTERING ITEM CHARACTERISTICS #
By selecting an item (e.g. editing DRINKS) all the necessary fields for entering the characteristics of the specific product will appear.
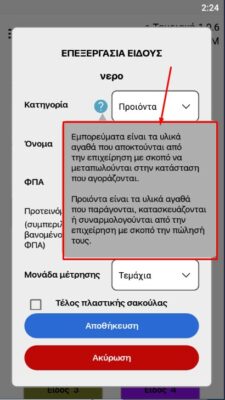
The categorization of the items is indicated by a message by selecting ?
Initially we must define the Category we want to include it in by selecting one of the following three options as shown on the screen.
- Goods
- Products
- Services
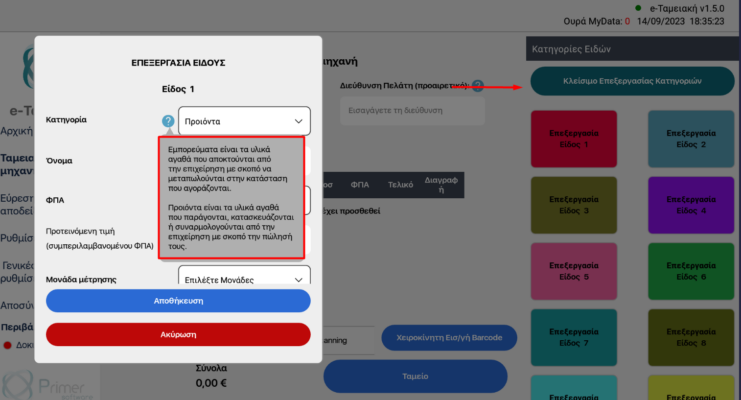
TABLET SCREEN
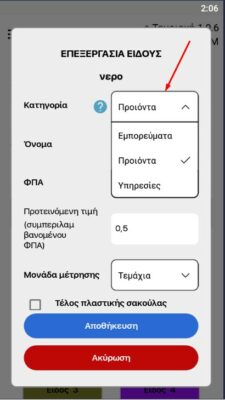
MOBILE SCREEN
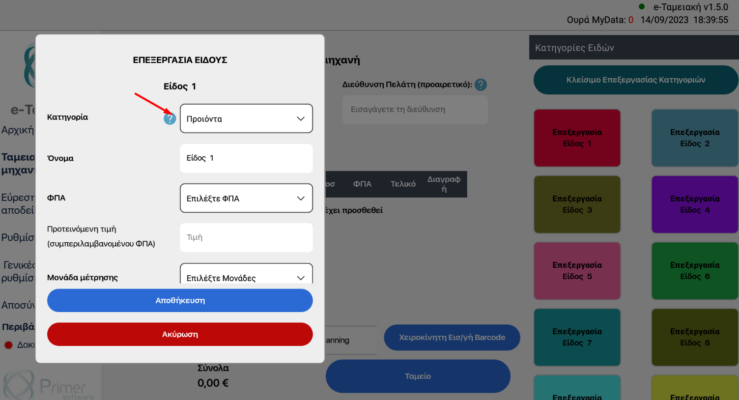
TABLET SCREEN
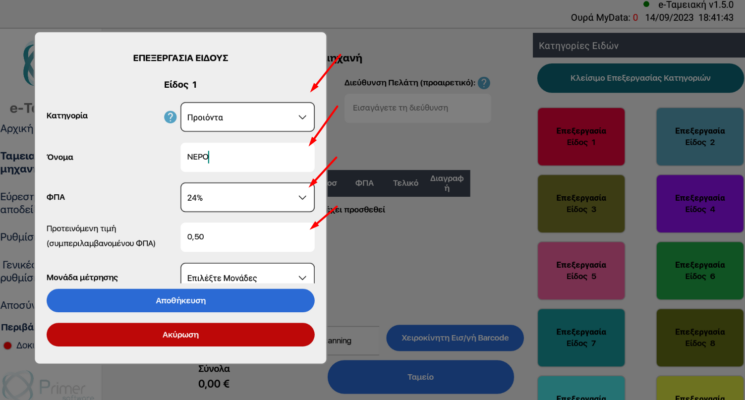
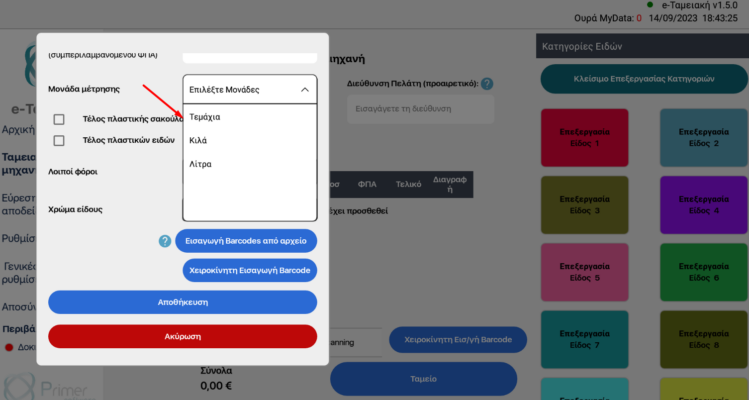
Then we enter the remaining characteristics of the product such as Name, VAT%, Price and Unit of measurement depending on the item with three options
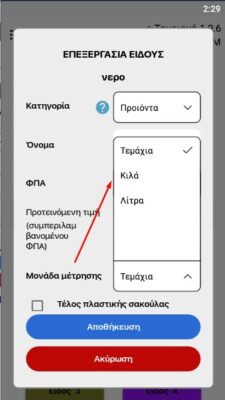
- Pieces
- Kilograms
- Liters
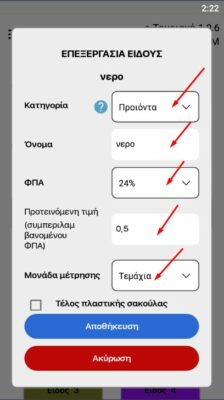
MOBILE SCREEN
TABLET SCREEN
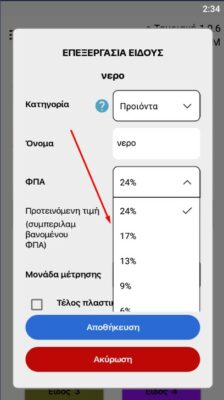
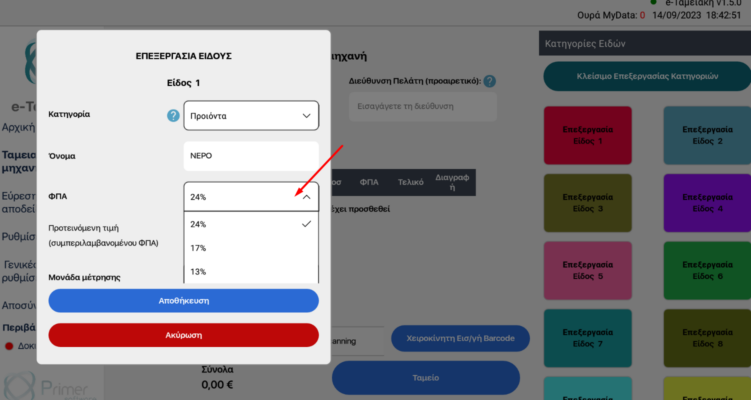
In the VAT% option we select the one that concerns the specific product we are editing
MOBILE SCREEN
TABLET SCREEN
In the Unit of measurement field we select the way our product is billed, Pieces / Kilograms / Liters
TABLET SCREEN
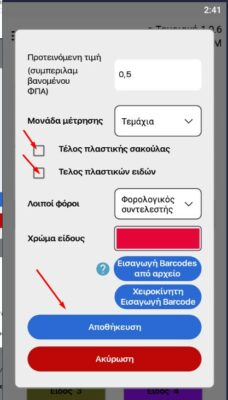
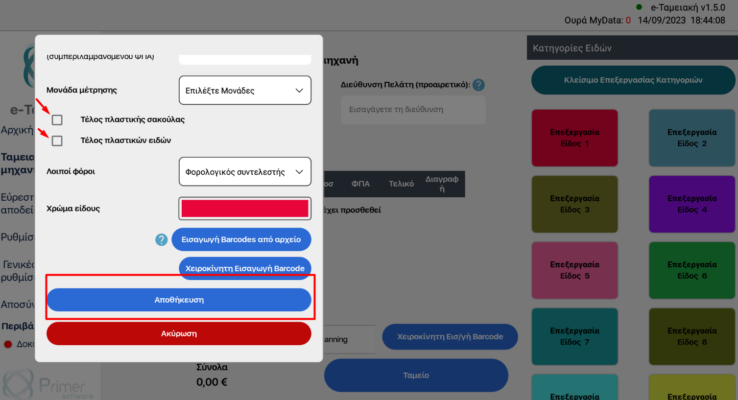
By scrolling the screen, the Plastic bag fee and Plastic items fee fields appear, which are selected depending on the product, and then we select Save
MOBILE SCREEN
TABLET SCREEN
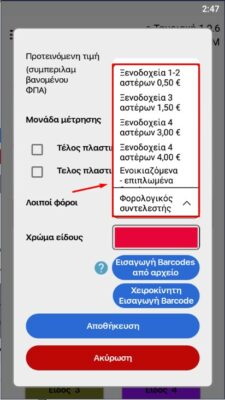
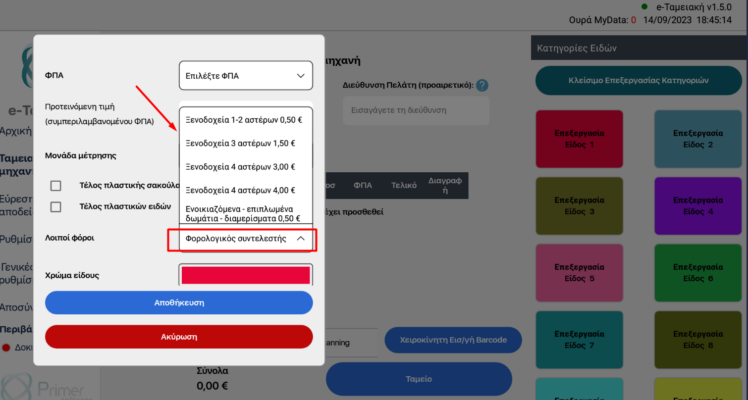
The Other Taxes field concerns the Services category and specifically Hotels and Rooms to Rent
MOBILE SCREEN
TABLET SCREEN
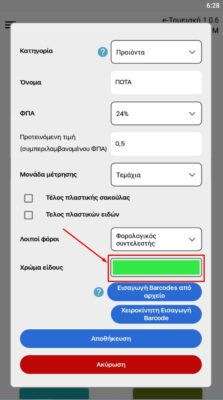
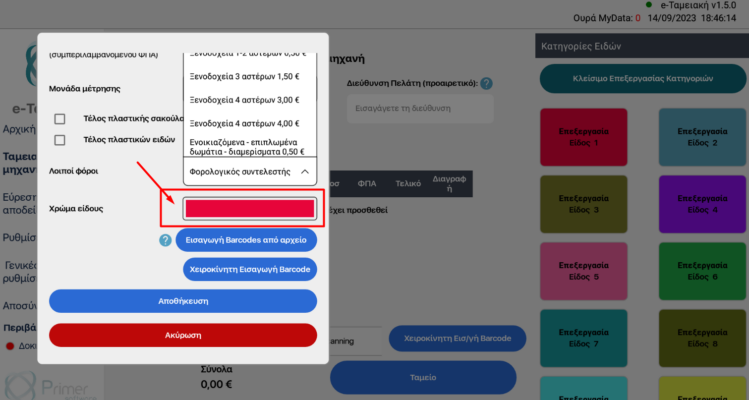
In order to better categorize and facilitate you, the application offers you another option for coloring the items.
MOBILE SCREEN
TABLET SCREEN
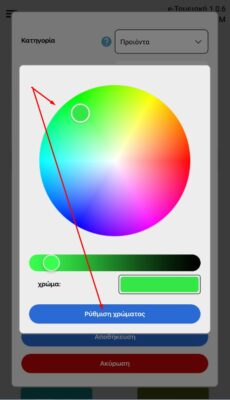
By selecting the colored field, the color palette will appear for us to choose the color we want for the product we are entering.
By clicking the Color Setting button we save the specific coloring for the specific product
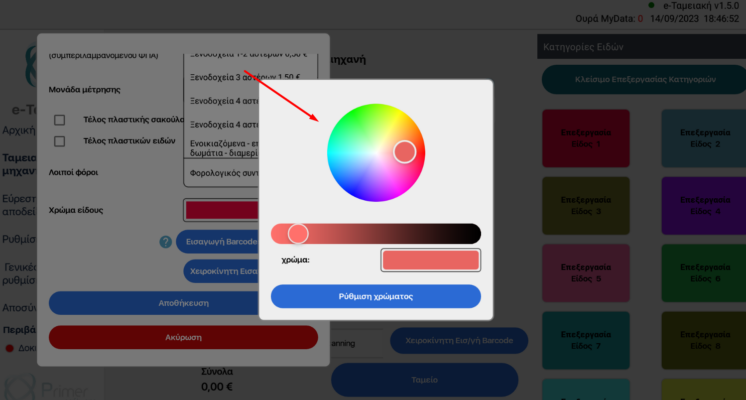
TABLET SCREEN
BARCODE ENTRY #
In entering the products we have the option to enter the Barcode in the following ways
- Import via excel file as described in the clarification message.
- Manual Barcode entry
IMPORT VIA EXCEL FILE #
ATTENTION! In the case of importing with an excel file, it is necessary to have the required format so that the application can import it correctly into the system
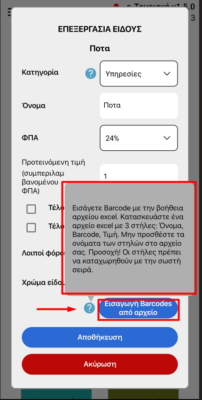
MOBILE SCREEN
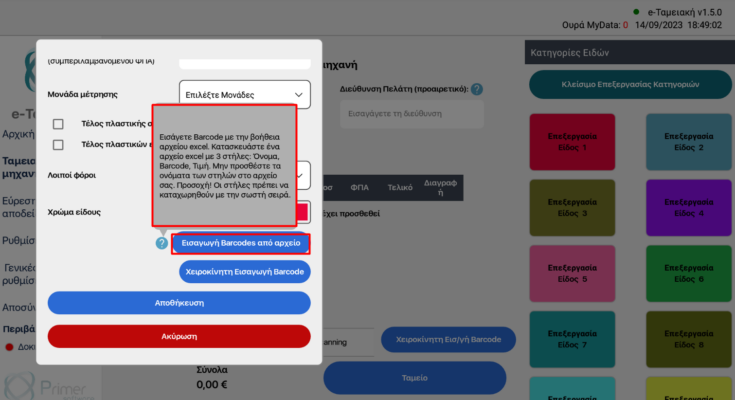
TABLET SCREEN
ATTENTION! By selecting the Barcode import from an Excel file, our file must necessarily have the following format

MANUAL BARCODE ENTRY #
There are two ways of manual entry of the Barcode
- To type it
- To scan it with the Camera / Barcode scanner
We can ONLY enter the Barcode field in two ways
TYPING BARCODE #
If we select Manual Barcode Entry the following screen will appear in which we must type Item name, Barcode, Price and click Save
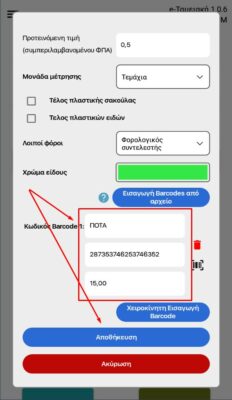
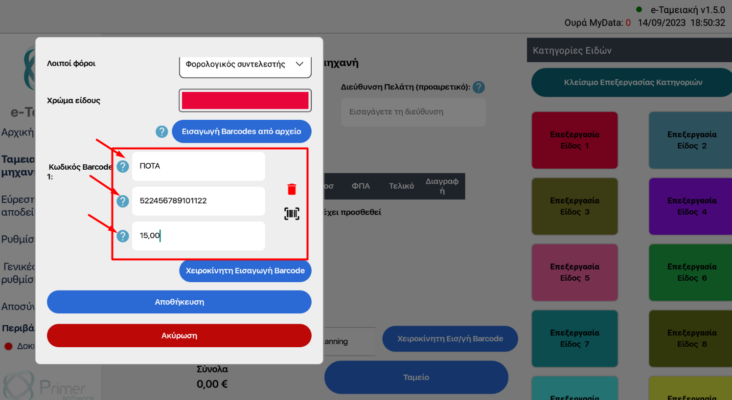
TABLET SCREEN
Every time we click Manual Barcode Entry the fields will open for the new item we will enter and save in the way described above.
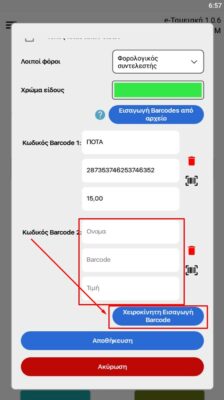
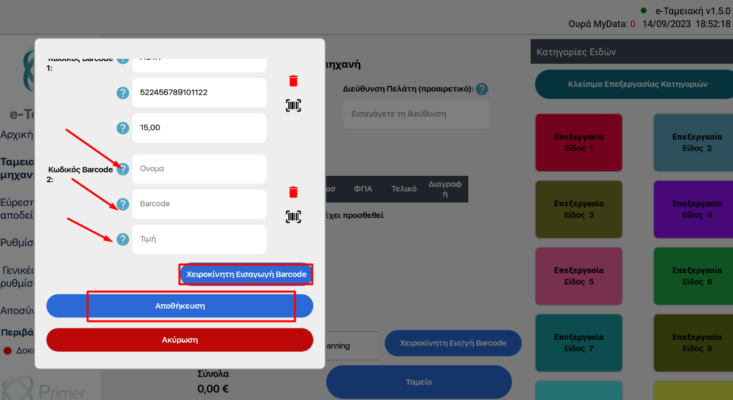
TABLET SCREEN
SCANNING BARCODE WITH CAMERA / BARCODE SCANNER #
If we select Manual Barcode Entry the following screen will appear in which we must ONLY type Item name and price.
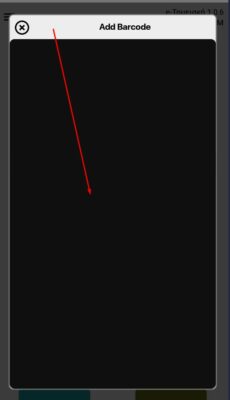
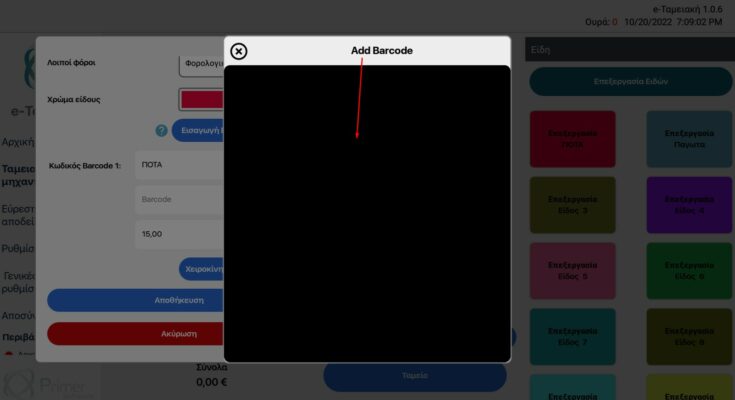
For the Barcode we will select its distinctive sign, as the arrow shows us. In this case we will activate the Camera / Barcode Scanner
As soon as we scan it and it appears in the field, then we will click the Save button
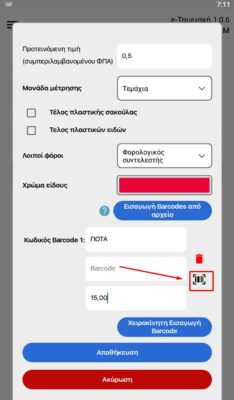
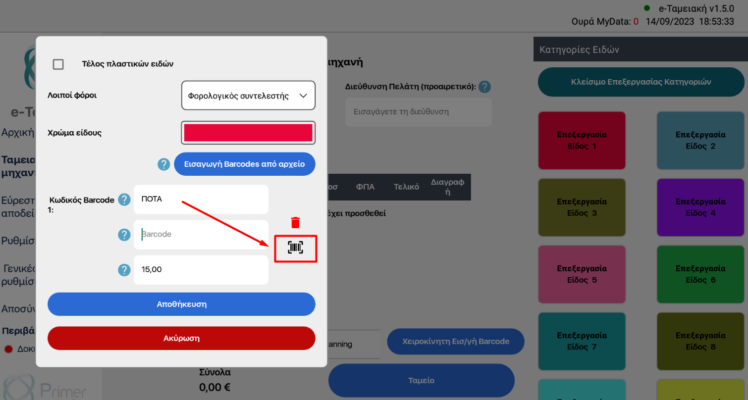
TABLET SCREEN
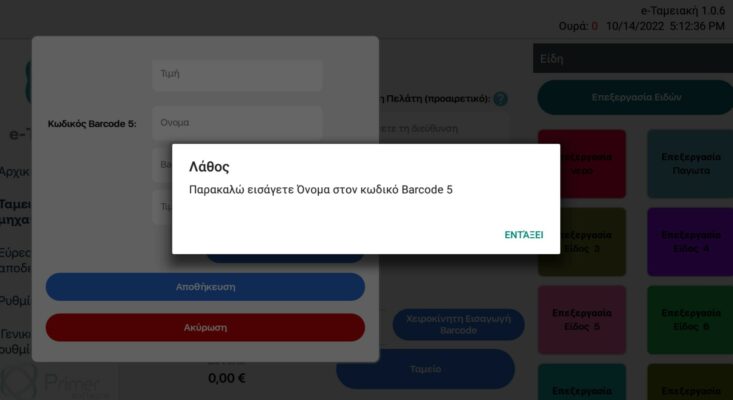
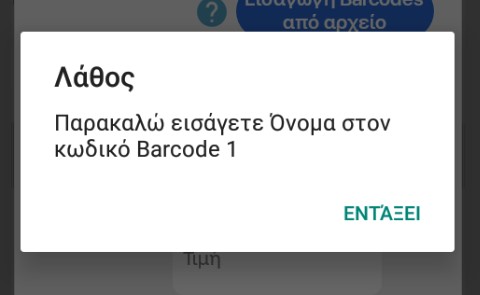
ATTENTION! If we click the Save button without having filled in the fields, an Error message will appear
MOBILE SCREEN